
AppMaker Help
Getting started.
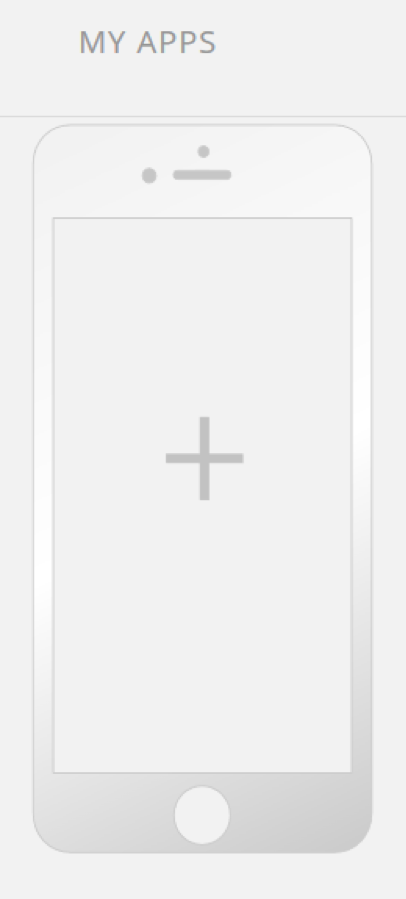
After signing in click on the create new app button, which will take you to the template selection screen.
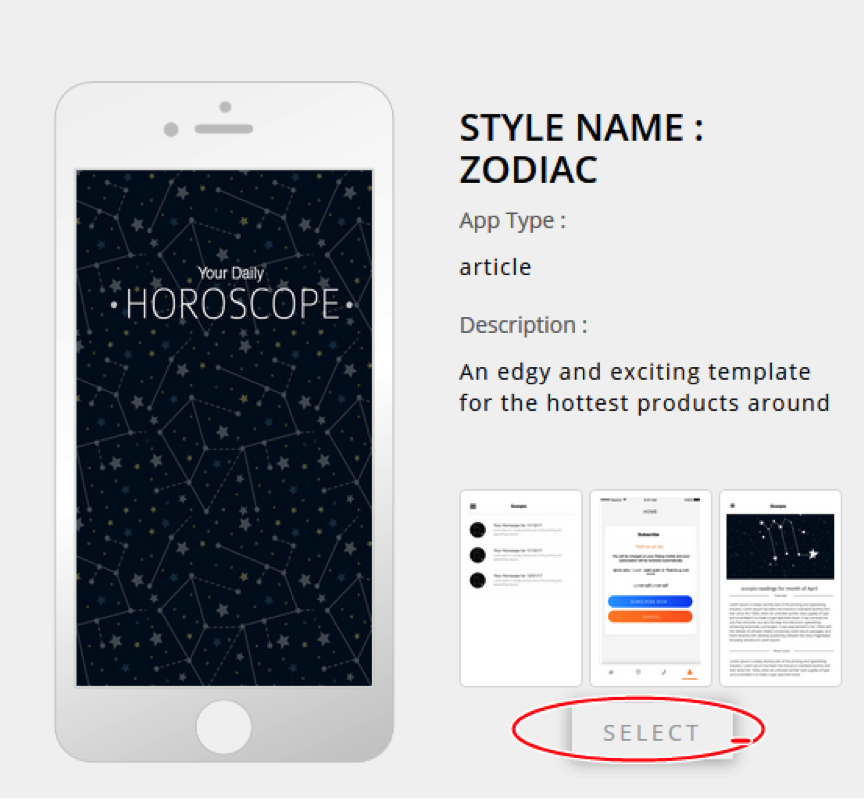
On the template selection screen select the template that you want to for the app by clicking on the “Select” button.
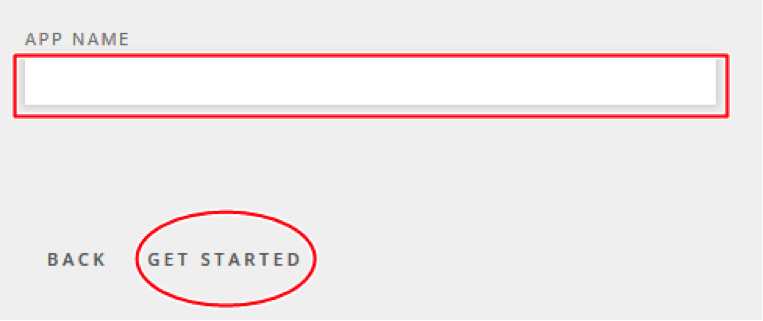
Enter the name of the Application in the text box and click on “Get Started” to open the app creation screen.
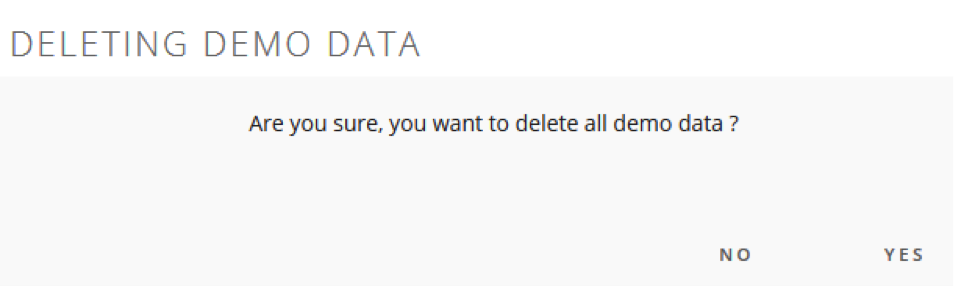
When the App creation menu opens you will be prompted to delete the default data. Click the “Yes” option to delete the default data and start creating your app.
Video Demo
Creating a category
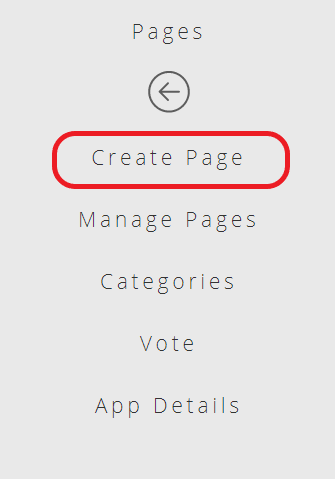
To create a category within the app select the menu named “Pages” from the left menu pane. This will open the Pages sub-menu.
In the Pages sub-menu select the “Categories” option, which will open the Category creation interface.

In the category management interface select the option “Add New Category” to open the category creation screen.

To create the category type in the category name in the text box provided.

Next select whether the category would be Free or Paid. If the category is designated as Free then any end user that installs the app can access the pages that come under this category. If the category is designated as Paid, only end user that are subscribed and have paid for the service can access the pages that come under this category.

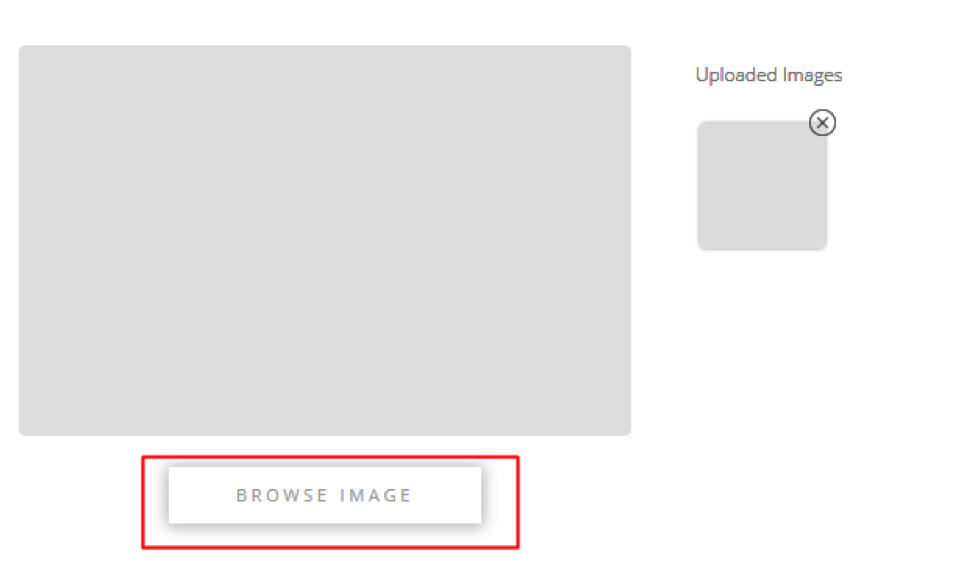
Then upload the category image. (Please note that entering a category name and image is compulsory in Appmaker.) To upload the image click on the browse image button, which will open a dialog box. From this dialog box you should select the image to be uploaded to the system.
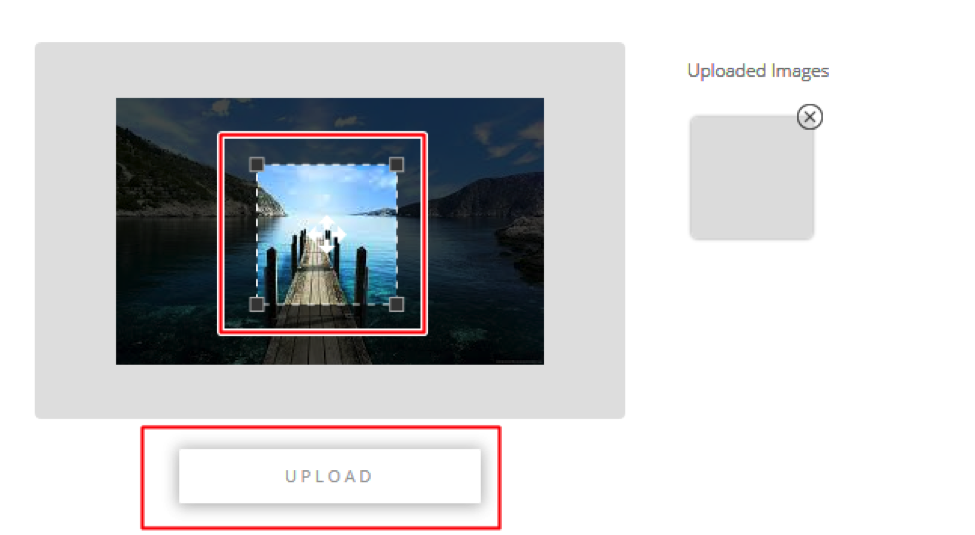
Once the image is uploaded to the platform, a preview of the image will be shown. The platform gives you the option of cropping the image within the preview itself. After the image has been cropped click on the “Upload” button to upload the image.
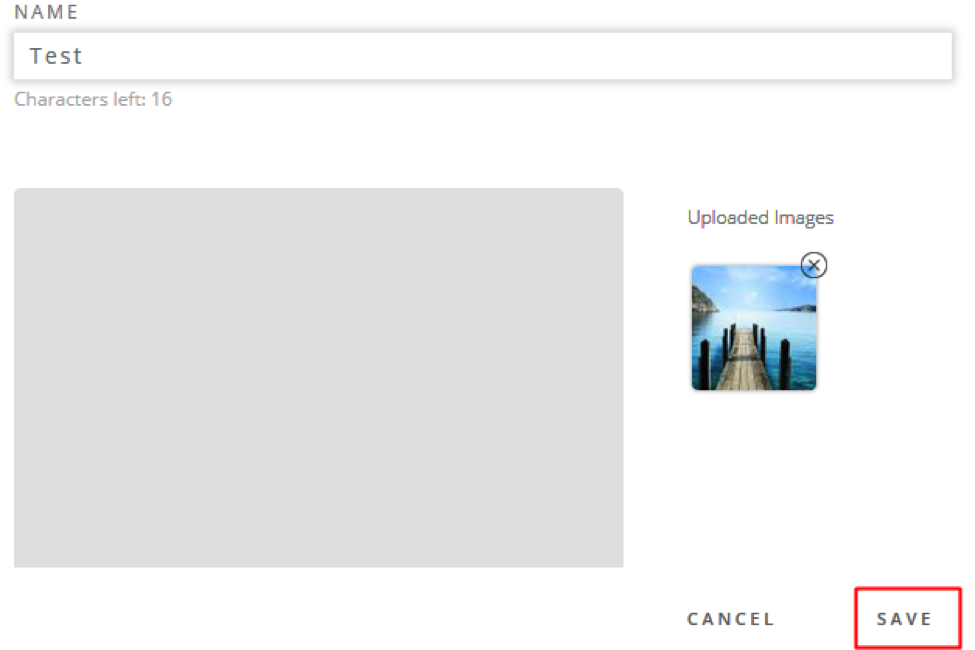
After the image has been uploaded, click on the “Save” button to create the category. (Note: A preview of the active category image is shown under “Uploaded Images”
Video Demo
Creating a new page
To create a new article within the app select the menu named “Pages” from the left menu pane. This will open the Pages sub-menu.
In the Pages sub-menu select the “Create Page” option, which will open the Page creation interface.
General Settings
To create the Page, first enter the title of the Page in the text box labelled “Title”.

Then select the date and time that the Page will be published by clicking on the calendar icon.

This will open a calendar. From the calendar select the required publication date. (Note: The Page will only be visible to users in the app after the publishing date)
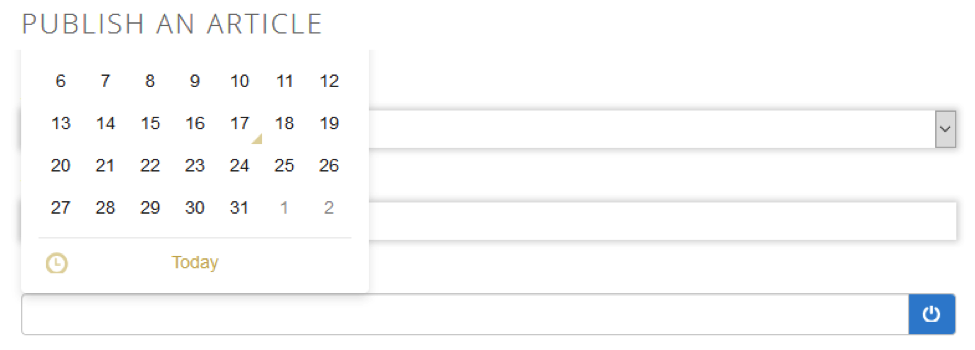
After the publishing date has been entered, enter the expiration date using the same method. (Note: The Page will no longer be visible to users in the app after the expiration date)
You can add the page rank according to your preference. Page rank will set up your page order as the value you entered to the page rank. If you haven’t added a rank, then the pages will ordered according to the published date.
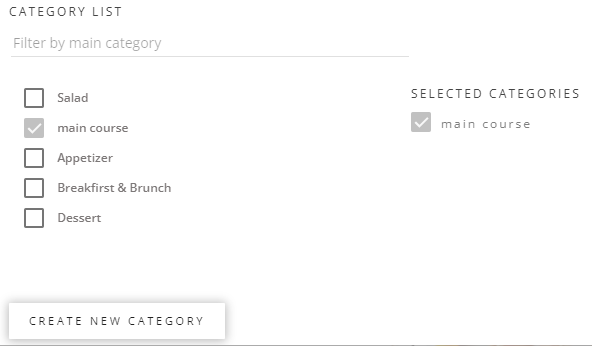
After that you can select the relevant category or categories for your page. Once you select the category your page will be published under the category you selected. If you want to add a new category and add your page inside that you can select “CREATE NEW CATEGORY” option.
After that you can tick the features, you expect to use. If you want to add a PDF file as your content, you should tick load PDF button. There are two options for that. If you wish to give access to users to download PDF, you can tick on” Load PDF (Download enabled)”. If you wish to not to give access to your users to download your PDF files, you can tick on “Load PDF (Download disabled)”.
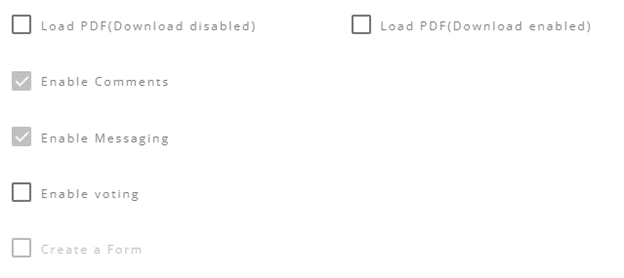
You can enable messaging and comments on the page. Messaging enables the End User to directly message you based on the content given in the article. Enabling commenting allows the end users of the post comments on the page that would be visible to all End Users that visit the page.

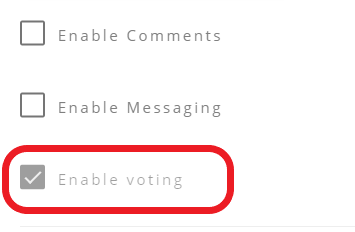
If you wish to add a voting section for users, tick Enable voting checkbox.
Banner Section
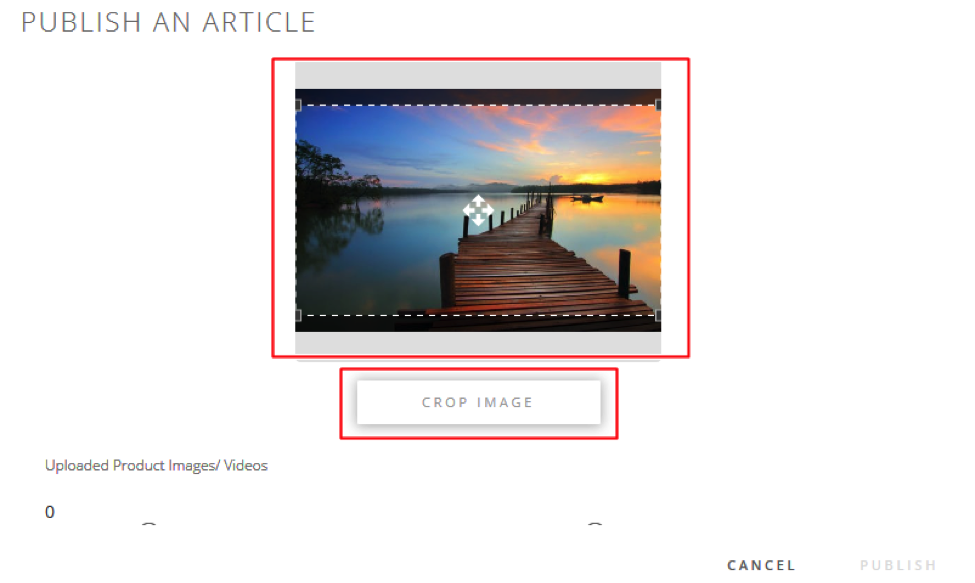
In banner section either you can upload an image (according to the mentioned recommended size) Or a YouTube video for your page.
Once the image is uploaded to the platform, a preview of the image will be shown. The platform gives you the option of cropping the images to suit your requirement within the preview itself using the cropping tools. After the image has been cropped, click on the “Crop Image” button to upload the image.
A thumbnail of the uploaded image will be shown, once it has been successfully uploaded.
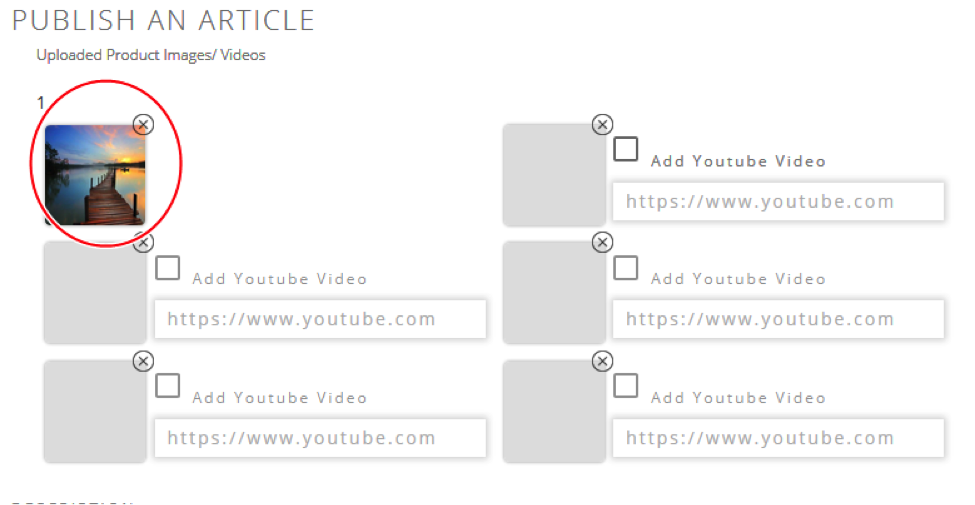
A YouTube video can be added via link. Tick the box and paste the link into the text area

Text Editor
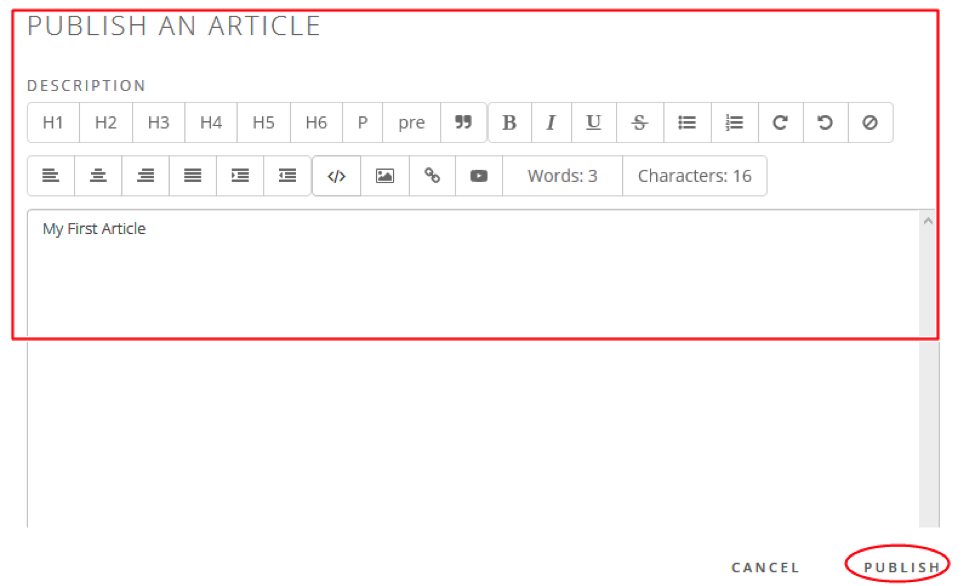
After uploading the banner, you can select a method to add content. Either you can use text editor or HTML editor. Using text editor, you can type your content which needed to be displayed in your page. Using HTML editor feature, you can add your own html code with that you can add content and design your page as your preference.
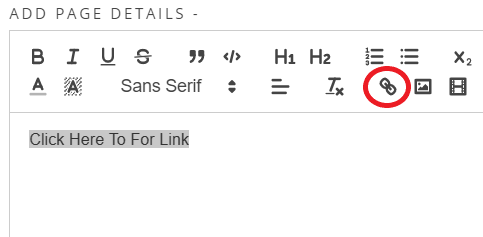
The text editor allows a user to add text, embedded videos and images.
In order to add links, you must first highlight either an image or line of text, and then click the button to add, and enter the link into the prompt
Form Section
Through this feature you will be able to get user inputs. If you wish to use this feature then you cant use the above mentioned features as enable messages, comments, load pdf, text editor, HTML editor and voting.

To publish the page click on the button titled “Publish”.

Video Demo
To enable voting,
1. Tick Enable voting checkbox.
2. Select which type of Voting you would like. For now, there is only normal voting, but there will be more options in the future.
3. Choose the title for the vote.
4. Choose how long you would like to run it for.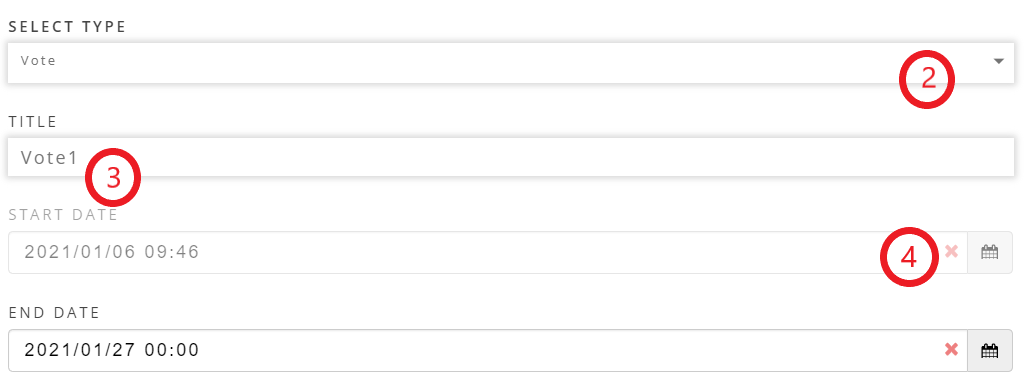
5. Add the text or names for each individual vote option.
6. Optionally, you can add an image for the options.
7. There needs to be minimum two options but optionally you can add more with this button.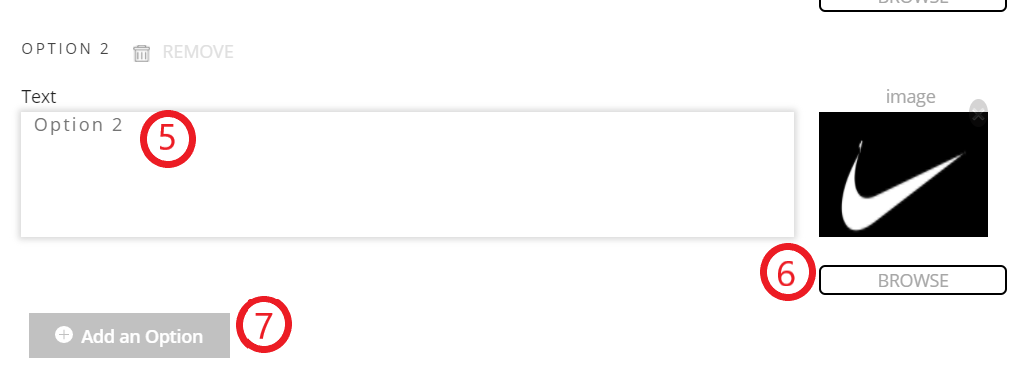
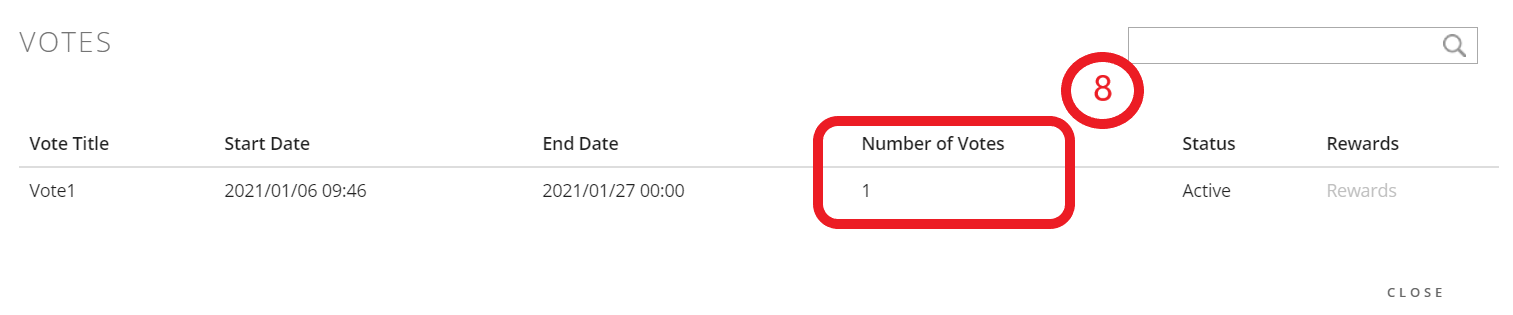
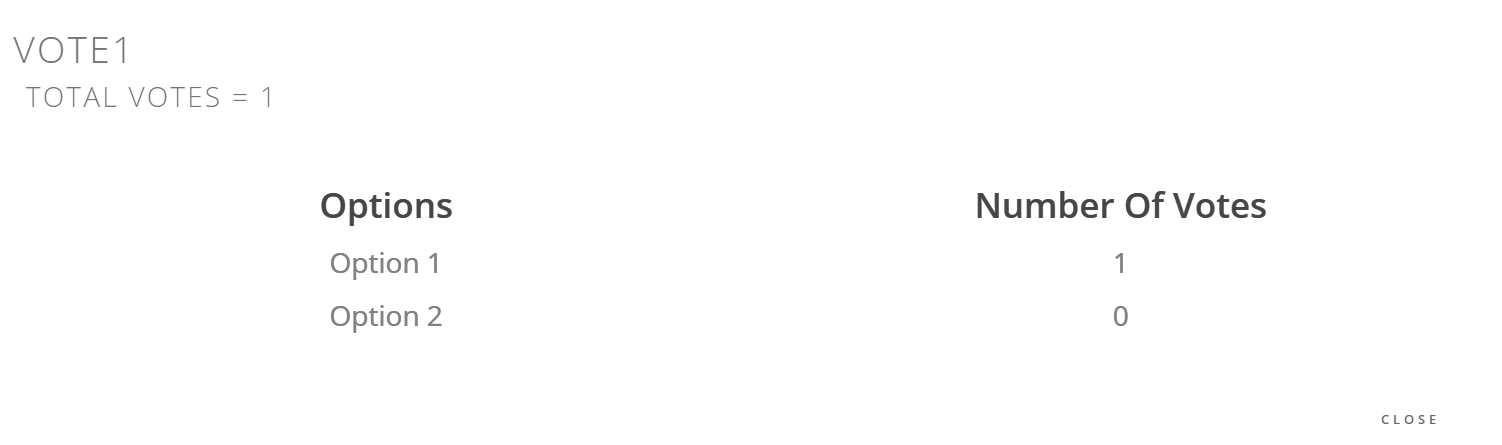
8. Once the page has been published with the voting, if you as the creator, wish to see the results of the voting, click the Vote option in Pages and click the number of votes.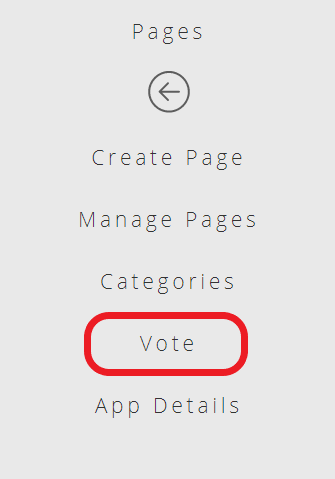
You can also give rewards to users who take part in the Vote. To do so, first click the rewards option in the Voting menu.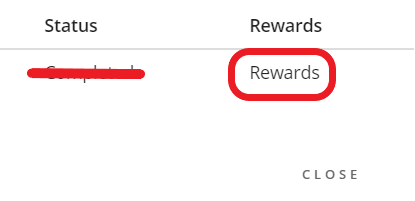
Now choose which users you wish to reward. You can choose between users who choose a specific option or randomly among all users who voted; as well as how many users will recieve this reward.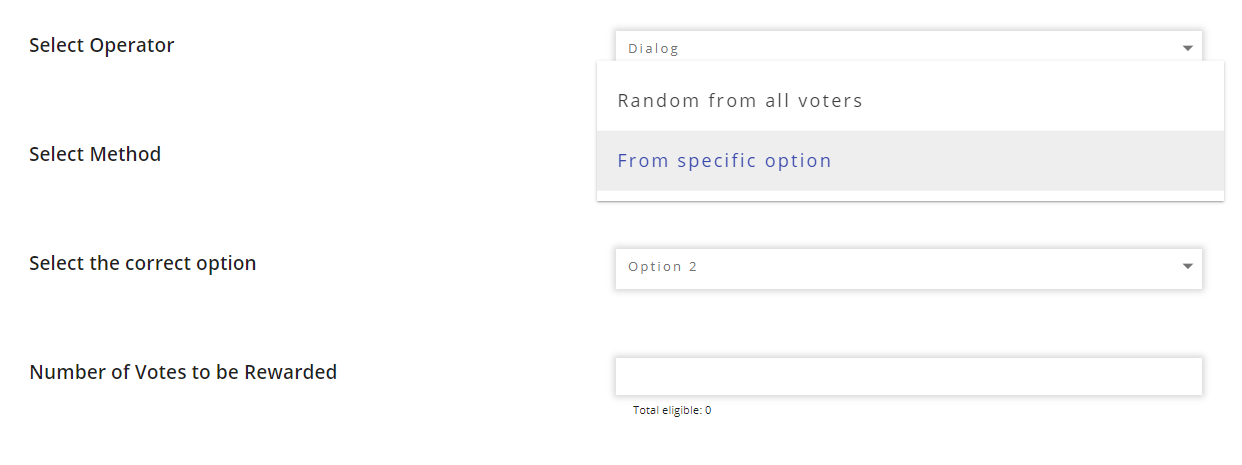
You can then choose what kind of reward users will get, SMS credit or Mobile Data and how much.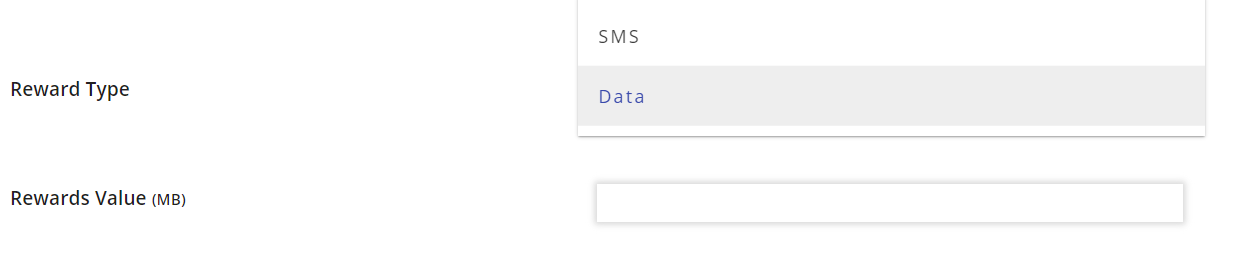
Form Creation
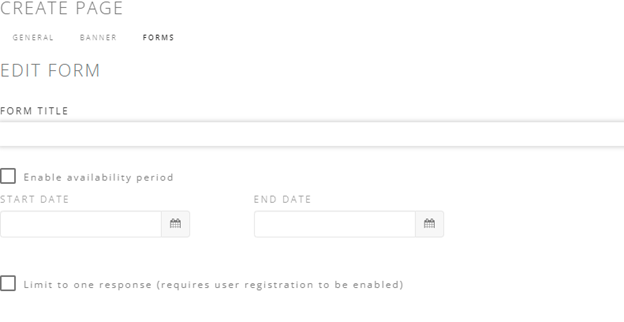
1. Add a title for your form.
2. Select the availability period of the form.
3. If you wish to get only one response from each user, you can tick on “Limit one response”.
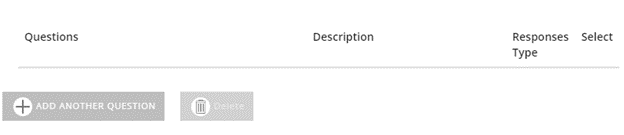
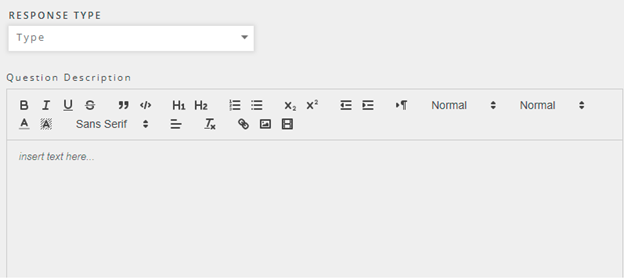
4. After that you can add question by question as your wish. (you can select response type ,then you can type your question in the text box).
5. After adding the questions, you can publish your page.
Managing Pages
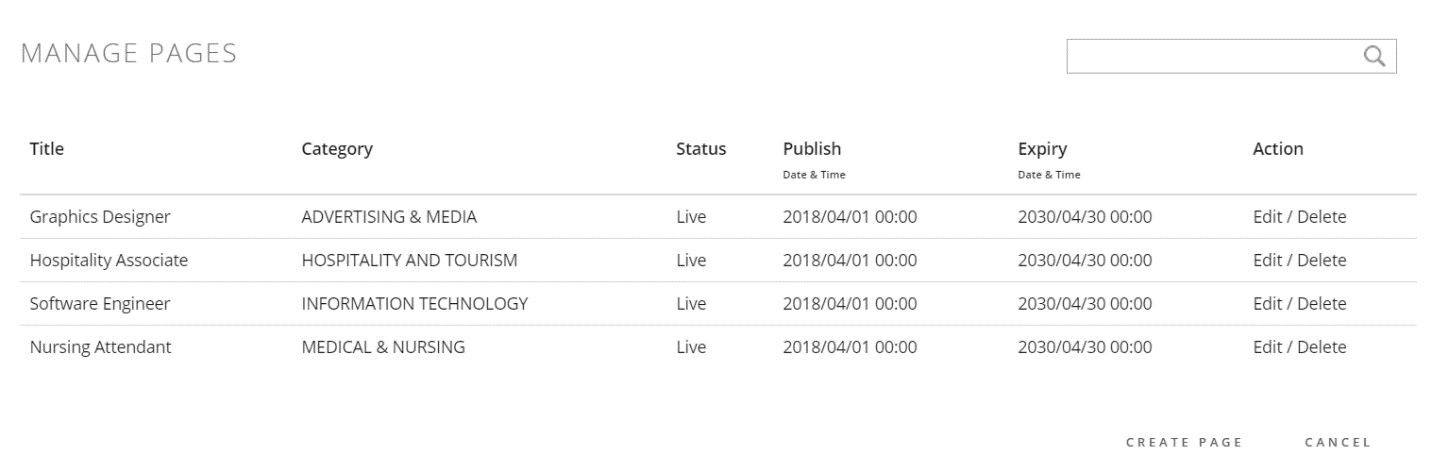
To manage the pages you’ve already created, you must first select the Manage Pages part of the Pages section in the navigation menu.
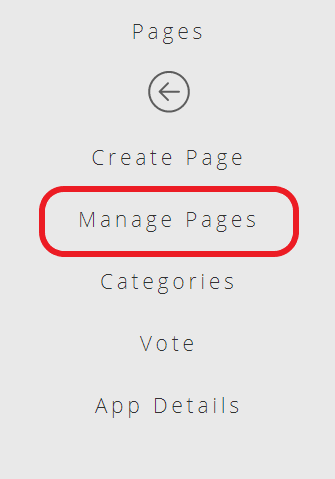
You will then be presented with the following from which you can edit whichever page you wish. Selecting edit will bring you back to the create page menu for that specific page in which you can change the details. You can also delete a page, though it cannot be undone.
Adding Application Details
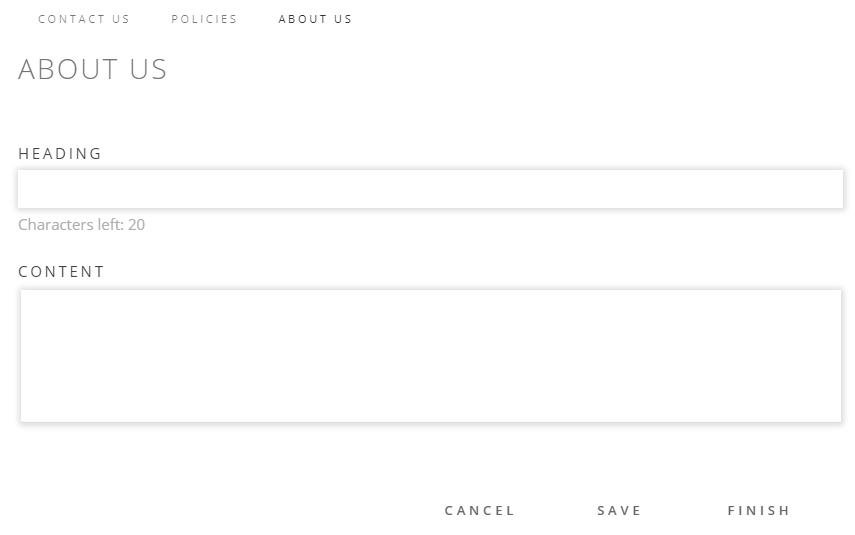
In order to add details about your application, such as contact details, policies and a description about you or your company, you must first select the App Details part of the Pages section of the Navigation menu.
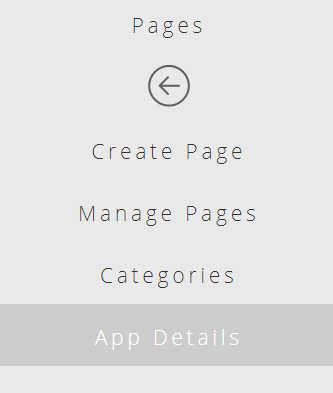
From there, all that is left is to fill in the necessary details in the spaces provided for contact details, policies and the about us page.
Changing the look and feel of the Application
To change the look and feel of the application, within the app select the menu named “Design” from the left menu pane. This will open the Design sub-menu.
From the Design sub menu choose the menu option named “Styles”. This will open the interface to edit the look and feel of the application.
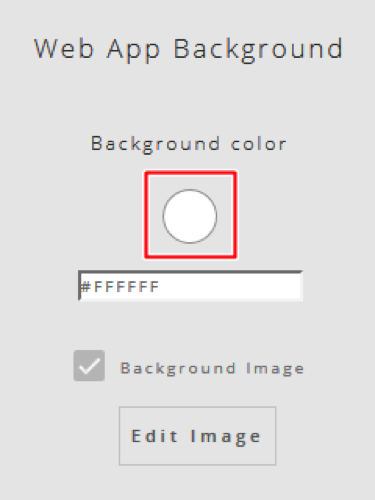
To change the background color of the application, navigate to the heading titled “App Background” on the left hand pane.

The color of the background can be changed by:
Clicking on the background button, which will open up a color palette. Then selecting the required color.
The color of the background can be changed by:
Clicking on the background button, which will open up a color palette. <Add a screenshot of the colour palatte>

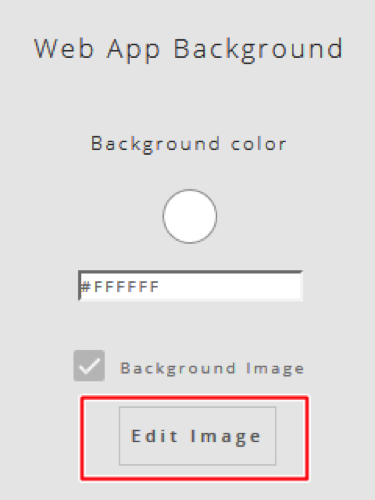
Uploading an image by choosing the option “Edit Image”. (Note: For an uploaded image to be displayed, the background image check box needs to be checked)
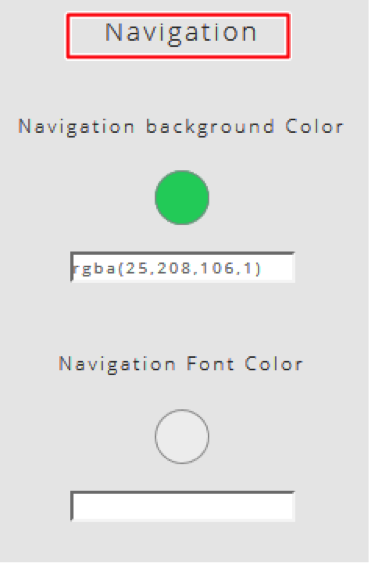
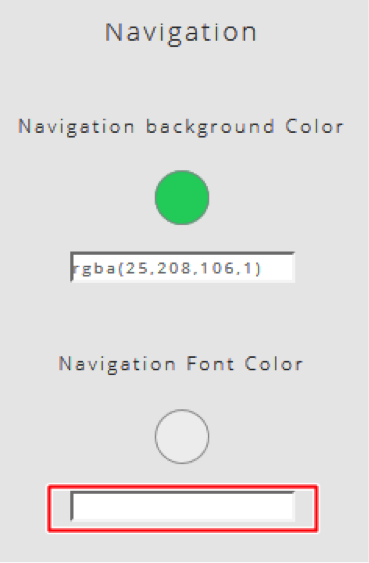
To change the background color and font color of the navigation menu in the application, browse to the heading titled “Navigation” on the left hand pane.
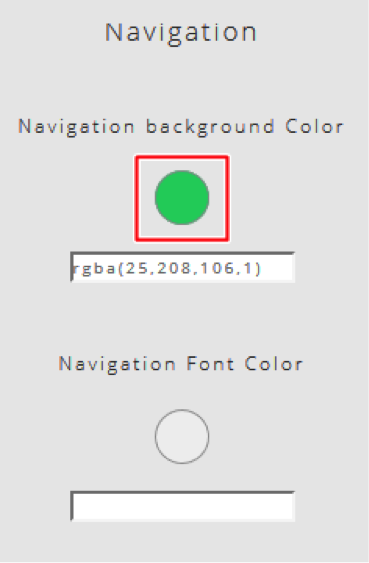
The background color of the navigation menu can be changed by:
Clicking on the background button, which will open up a color palette.
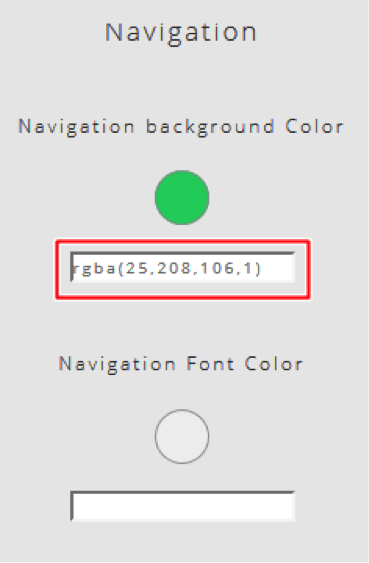
Entering the hex value of the color in the input box
To change the font color of the navigation menu:
Clicking on the navigation font color button, which will open up a color palette. (screenshot of colour palette)To change the font color of the navigation menu:
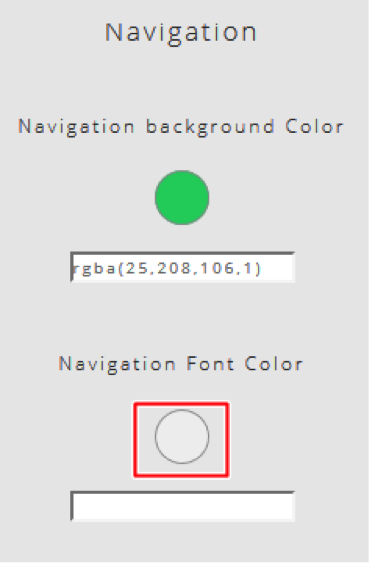
Clicking on the navigation font color button, which will open up a color palette. (screenshot of colour palette)
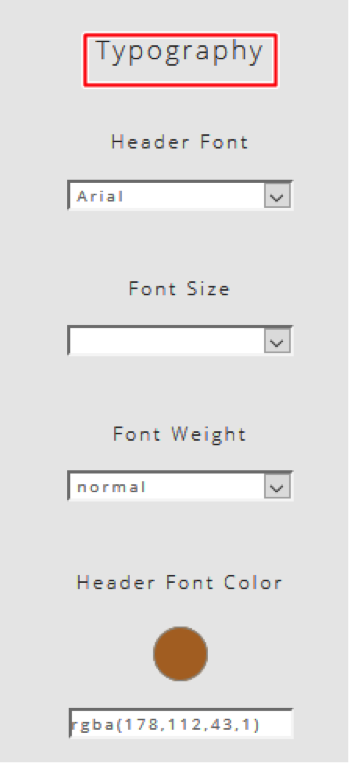
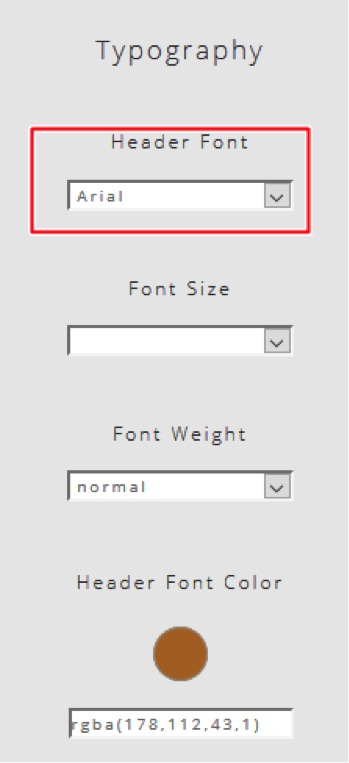
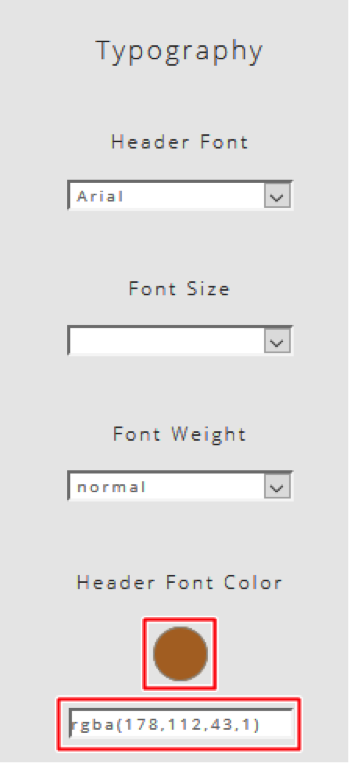
To change the font type, size and color of the fonts used in the application, browse to the heading titled “Typography”
To change the type of font used for the header, select a font from the dropdown list under “Header Font”
To change the font size of the header font, select a font size from the dropdown list under “Header Font Size”.
To change the header font color, click on the color button under “Header Font Color” or enter the color hex code in the input box.
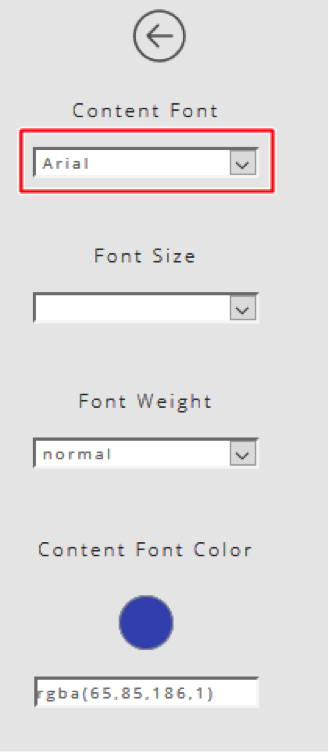
To change the type of font used for the content, select a font from the dropdown list under “Content Font
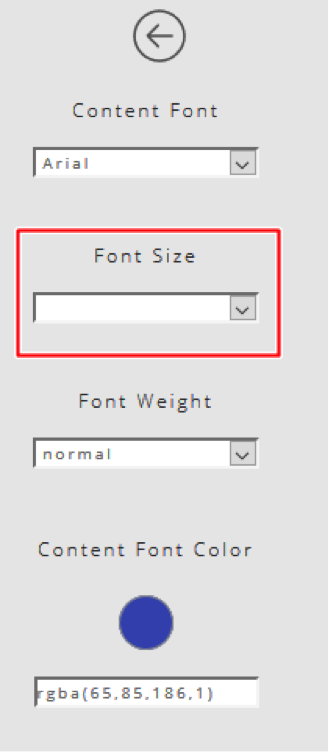
To change the font size of the content font, select a font size from the dropdown list under “Content Font Size”
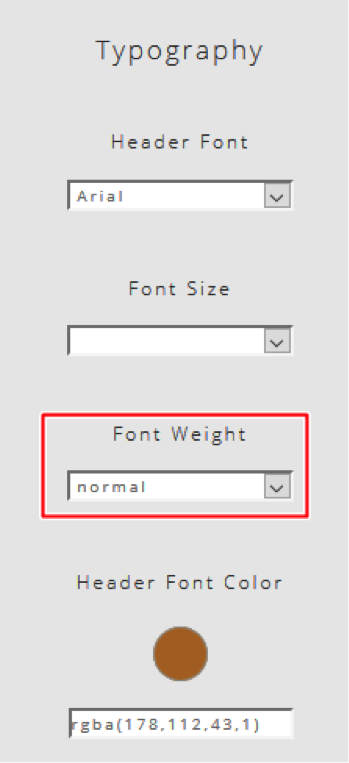
To change the weight of the content font, select a font weight from the dropdown list under “Content Font Weight”.
To change the content font color, click on the color button under “Content Font Color” or enter the color hex code in the input box.
Education App
While most apps work the same with a few exceptions, Education apps might need a little more explanation unique to it. Education apps are for the purpose of presenting questions that users can actively answer within the app itself.
To start, you must first choose the Education template out of the selection.

Now, again, Education app work mostly like general Article apps but where things start looking different is in when creating or editing a page. (Page -> Create Page, Page -> Manage Pages)
In the page editor, to begin adding the questions, simply click the Add Questions checkbox at the end of the editor and click the Add another question button as shown below.
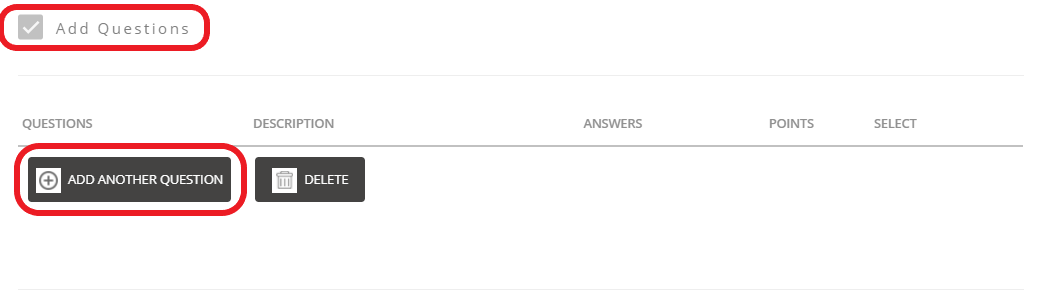
This will bring up the interface to add the question itself
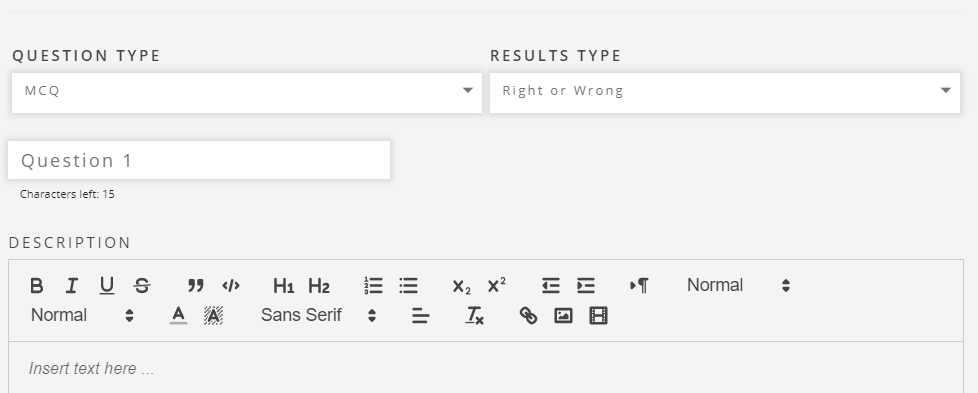
You can choose one of 3 types of questions. MCQs, Inputs, and Links and 2 types of results, either Points or Right and Wrong.
Input the Question title and a brief description explaining the question.
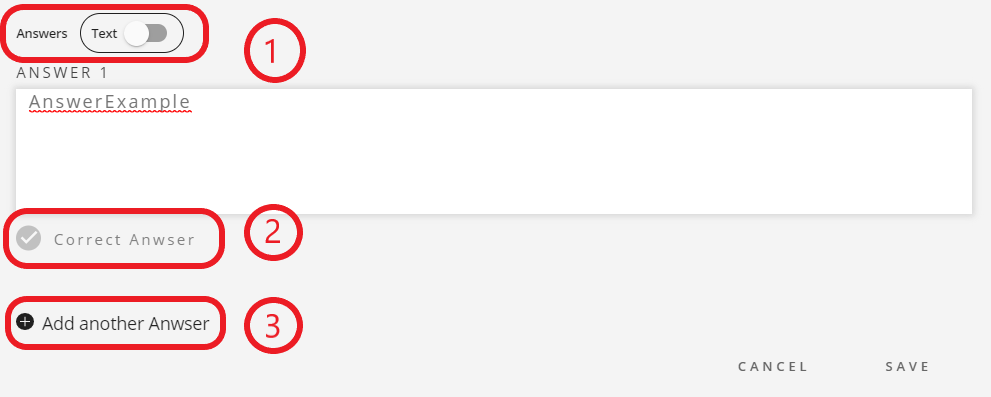
For MCQs
- Make the Answers either text based or images.
- Select if this is the correct answer
- Add another Answer
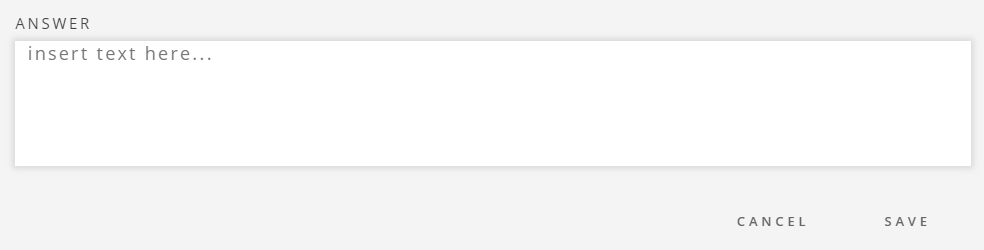
For Inputs, add the correct answer which the answer the user inputs will be compared to.
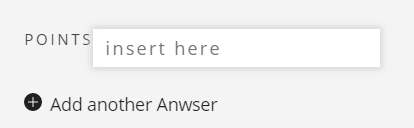
If the result type is points based, allocate how many points for each answer.
Links will redirect the user to another page. You can only redirect to pages that you have made hidden by this option that is unique to Education apps.

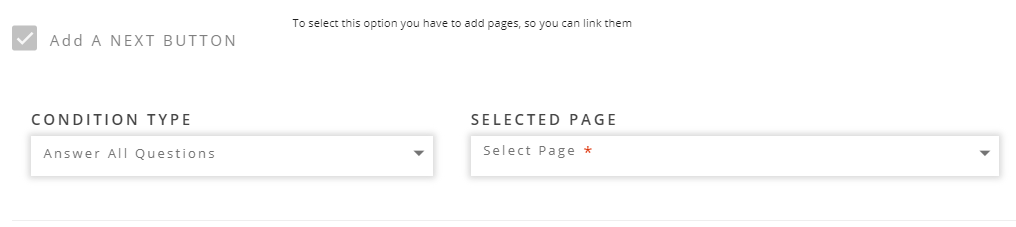
At the end of the page, you have the option to add a button to connect to another page, to create the feeling of a Question Paper. You can add conditions so that users can only progress if they have answered all the questions or if they have met the point quota
Video Demo
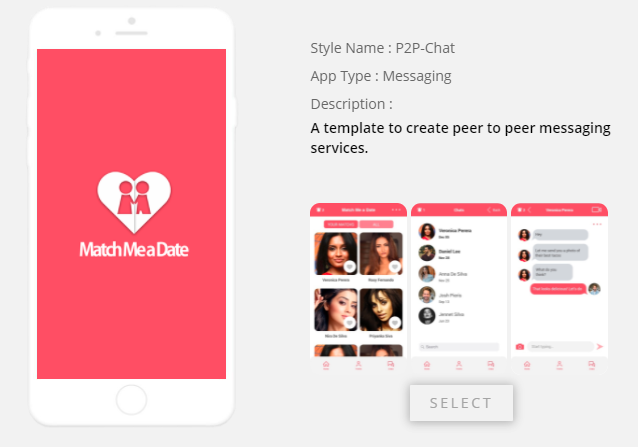
Chat App
1. Select the P2P chat template to create chat apps.
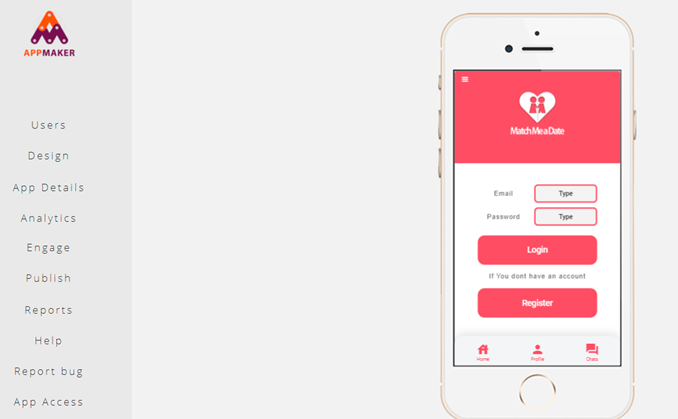
2. Enter a proper app name and click on the “Get started button”

3. Confirm you app name.

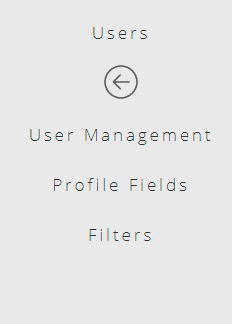
4. Click on “Users” in order to change “Profile fields, and filters
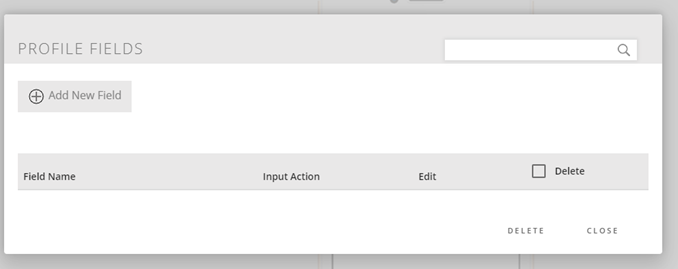
5. To add new profile fields, click on” profile fields” and click on add new field button.
6. Add “Field name,Input action and more than one option” according to your requirement
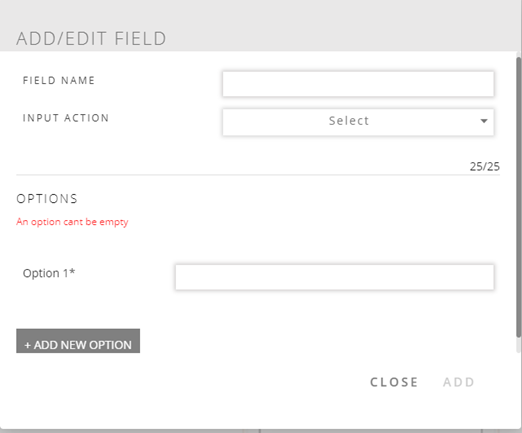
7. Once you fill in all the details click on the “Add” button.

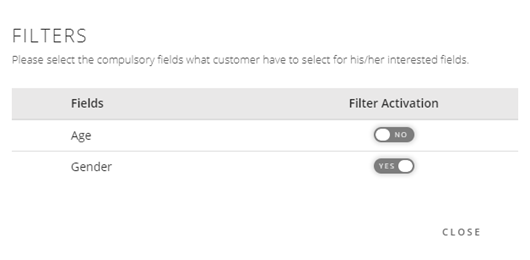
8. You can select “Filter activation” according to your requirement.
9. You can watch all the user details by clicking on “User management”.

Publishing the Application
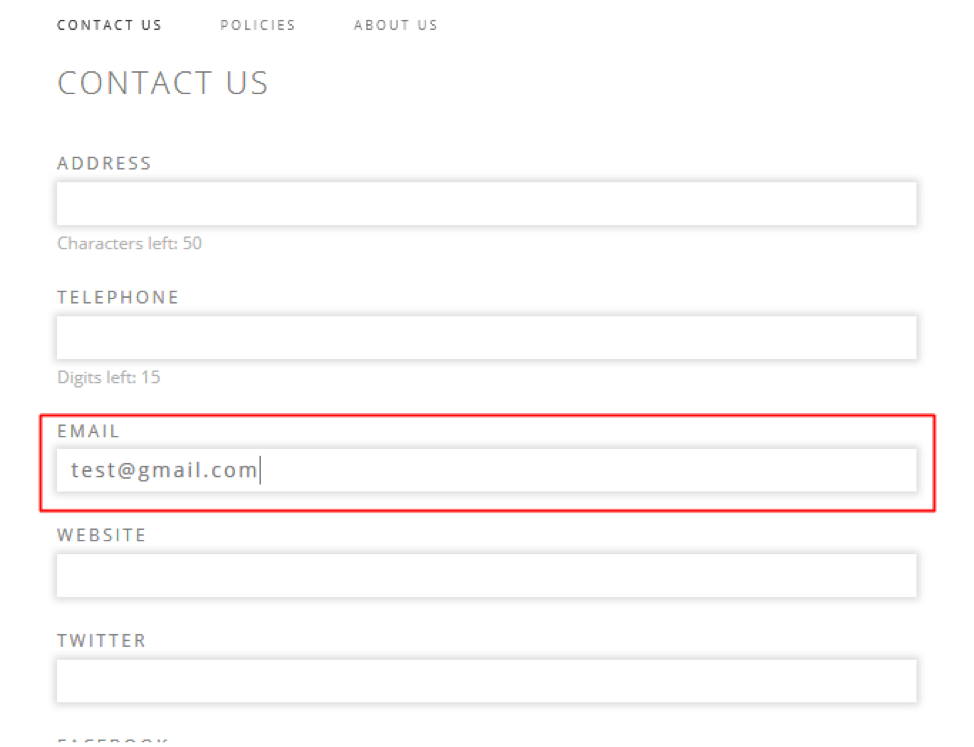
The first step is to add your contact details. To do this navigate to the App Details Menu (Path: Home -> Pages -> App Details -> Contact Us). The menu allows you to enter contact details that will enable your end users to get in touch with you. Only the email field is mandatory. (Please note that this information entered here will be visible to all users that download the app. Therefore, please be careful about the personal details you share)
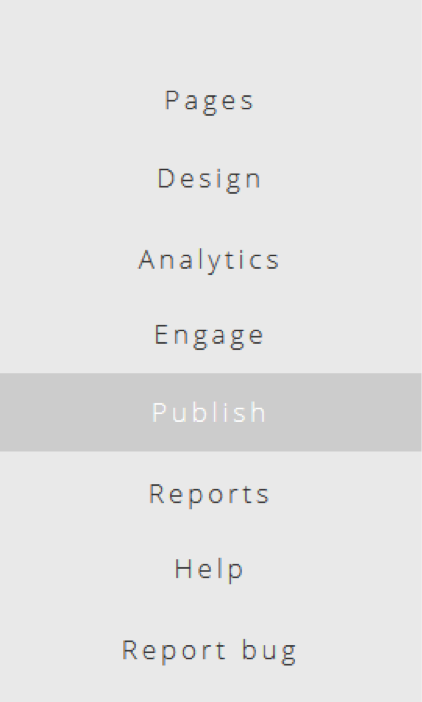
After entering your contact us details, navigate to the “Submit for Approvals” sub menu. (Path: Home -> Publish -> Submit for approvals). The sub menu has two tabs. The first one is General, the second one Operator Configuration.
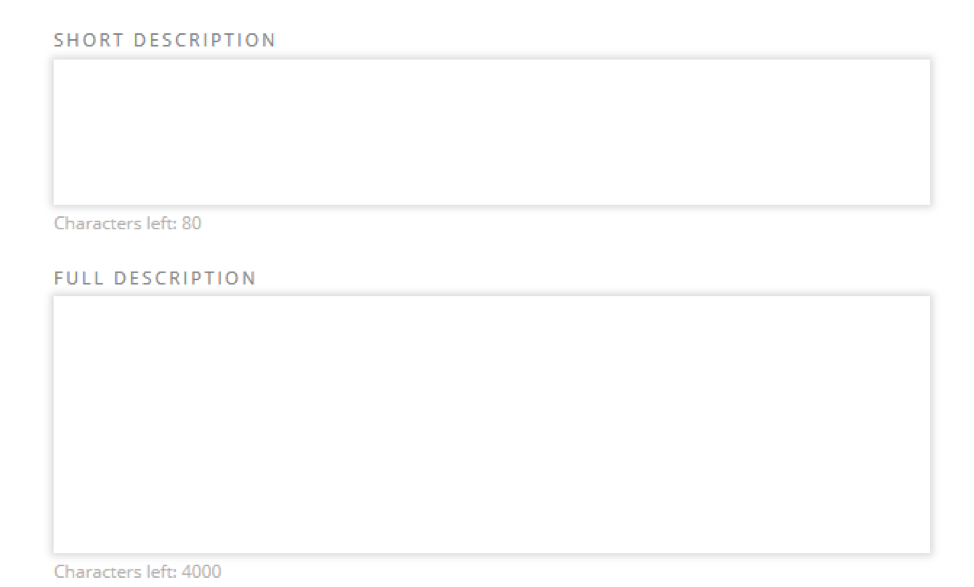
In the General Tab, enter the short description and long description for the app in their respective boxes. The short description is a succinct summary of the app. Whereas the long description gives more detailed information.
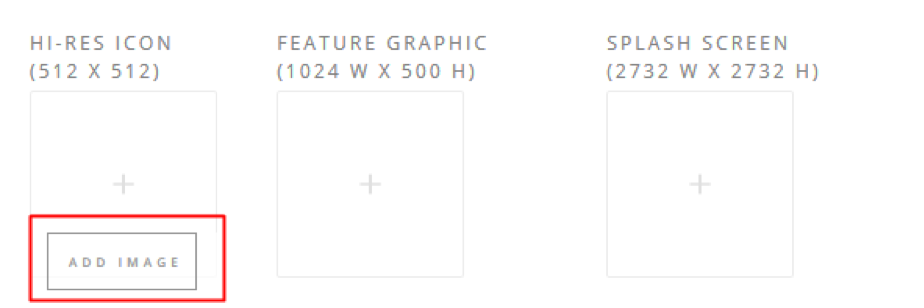
After entering the respective descriptions, you need to upload the images that will be used as the HI-RES Icon, feature graphic, and splash screen for the final app created by the Appmaker platform. Each of the
graphics should meet the following requirements:
HI-RES Icon- 512 x 512 pixels, PNG format
Feature Graphic – 1024 (width) x 500 (height) pixels, PNG format
Splash Screen
– 2732 x 2732 pixels, PNG format
NOTE: The images uploaded must meet this guidelines. Otherwise the system will throw an error message, and will not upload it.
To upload the image hover
the mouse of the respective box and a banner titled “Add Image” will display at the bottom of the box. Click on the banner to upload the image.
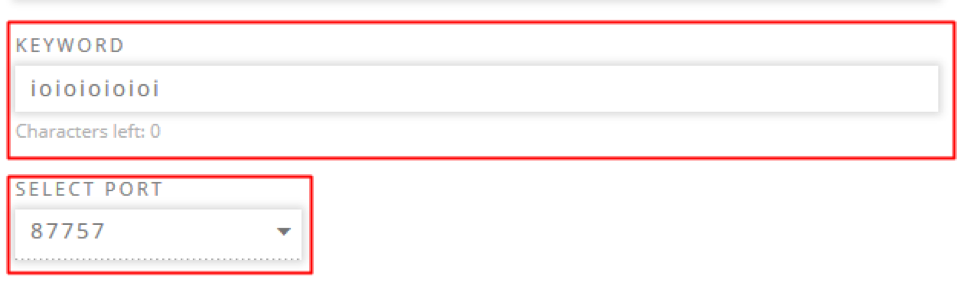
The final step in the General tab is to enter the keyword and the port. The keyword entered has to be unique, and is used by the end user to subscribe and un-subscribe himself from the service. The ports are pre-defined in the system and you only need to select one from the dropdown list.
Once all the information has been filled click the next button to be taken to the “Operator Configuration” tab.
In the operator configuration tab, click on the enabled check box to enable customers from that operator to subscribe and use the app that you have created. Clicking on the enable tab will allow you to elect whether you want to charge the customer daily or monthly (Note: Month = 30 days). After you have specified the subscription length you can specify the amount by entering it in the amount box.
To add another operator click on enable for one of the other operators and follow the same process described above. Once you have enabled the operators and entered the required details click on save. This will submit your app for approval.


The approval process
Each stage of the approval process is visible to the App developer through Status page. This page shows the status for each operator that the app has been enabled for. The table below describes the stage of the approval process taking place for each status shown.
| Status | Description |
|---|---|
| Submitted for configuration | The app creator has created the app and submitted it for publishing. The request has been received by the Appmaker support team and they are working on the configurations required to make the app functional (i.e. charging) |
| Submitted for approval | The app creator has created the app and submitted it for publishing. The request has been received by the Appmaker support team and they are working on the configurations required to make the app functional (i.e. charging) |
| Approved |
The operator has approved the app. This means that customers in the approved operator can subscribe to the app. Therefore, you can market the app to customers from this operator. |
| Rejected |
The operator has rejected the app. Customers from this operator cannot subscribe to the app. |
Generating a New APK
After your app has been approved and published, a need might arise to generate a new APK for your app. This can be easily done using the following steps:
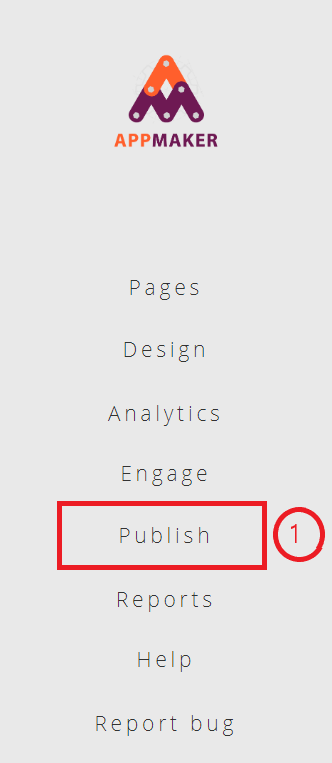
First click on publish
Then Submit for Approvals
Click on the “Generate New APK” button to generate the new APK.
(Note: Please note that the system takes about 1-2 hours to compile a new APK. In rare circumstances it might take longer than this. After the new APK has been compiled an email will be sent to you confirming that the new APK is available.
If you have uploaded the app to third party app store (i.e. Google Play Store), please ensure that the updated APK is uploaded to the app store as well.)

Updating the App version
The Appmaker platform is always improving with new features, performance improvements and bug fixes pushed constantly. To gain full advantage of these improvements you might be required to update your app to the latest version. This can be easily done by following the steps given below.
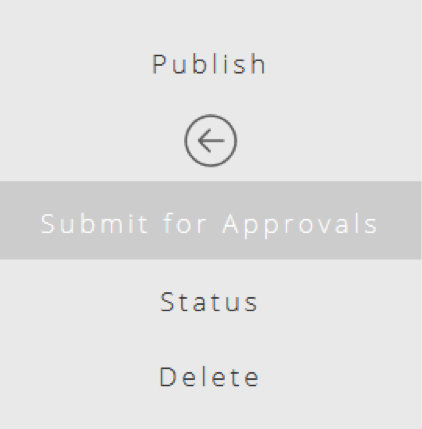
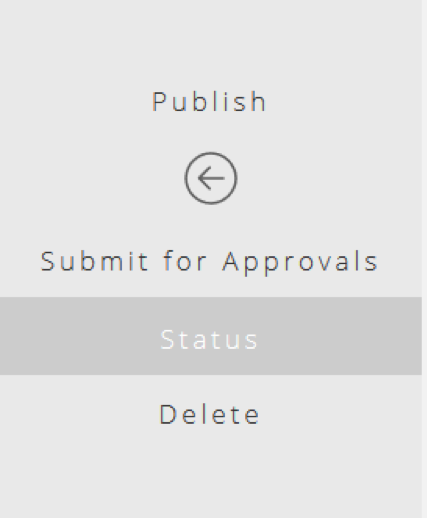
First click on publish

Then Status
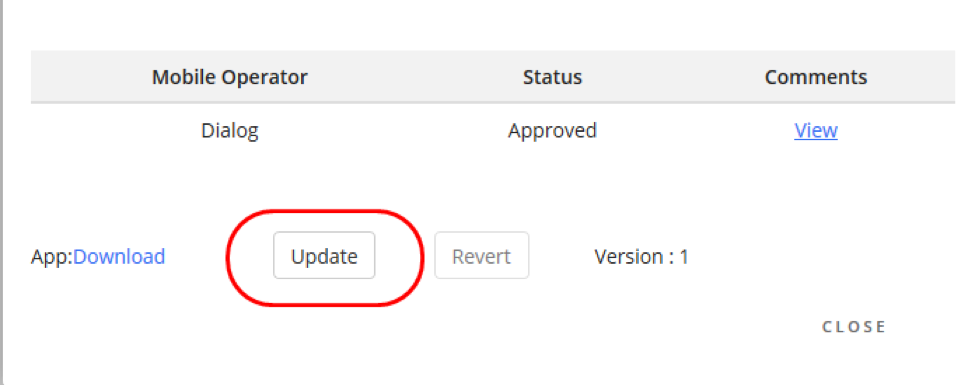
If an update in available the update button will be enabled (that is clickable). To update the the app to latest version click on the update button.
(Note: Please note that the system takes about 1-2 hours to update the app. In rare circumstances it might take longer than this. After the app has been updated an email will be sent to you confirming that the new APK is available.
If you have uploaded the app to third party app store (i.e. Google Play Store), please ensure that the updated app is uploaded to the app store as well.)
If the app has been updated to the latest version then the update button will be inactive.
Changing Appmaker Store App Link
Purely optionally, if app creators would like to change the Appmaker Store app link to the Playstore app link should they have already uploaded it to Playstore, they can do so through this.
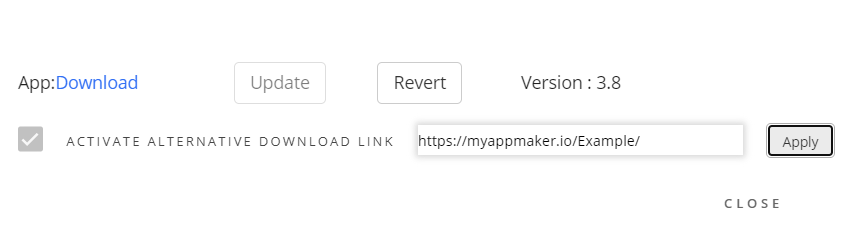
Tick the checkbox, add the link and click apply.
Analytics
This allows the user to monitor how well their business is doing through their application.
(Note: This only shows when the app is set to Paid)
To do this, first,
Select Analysis from the main navigation menu.
Immediately, you will also see the total subscribers and active users of your app. Then, select the period of time and which product you wish to see a report from and select “Apply” to receive the full report.

Generating a Report
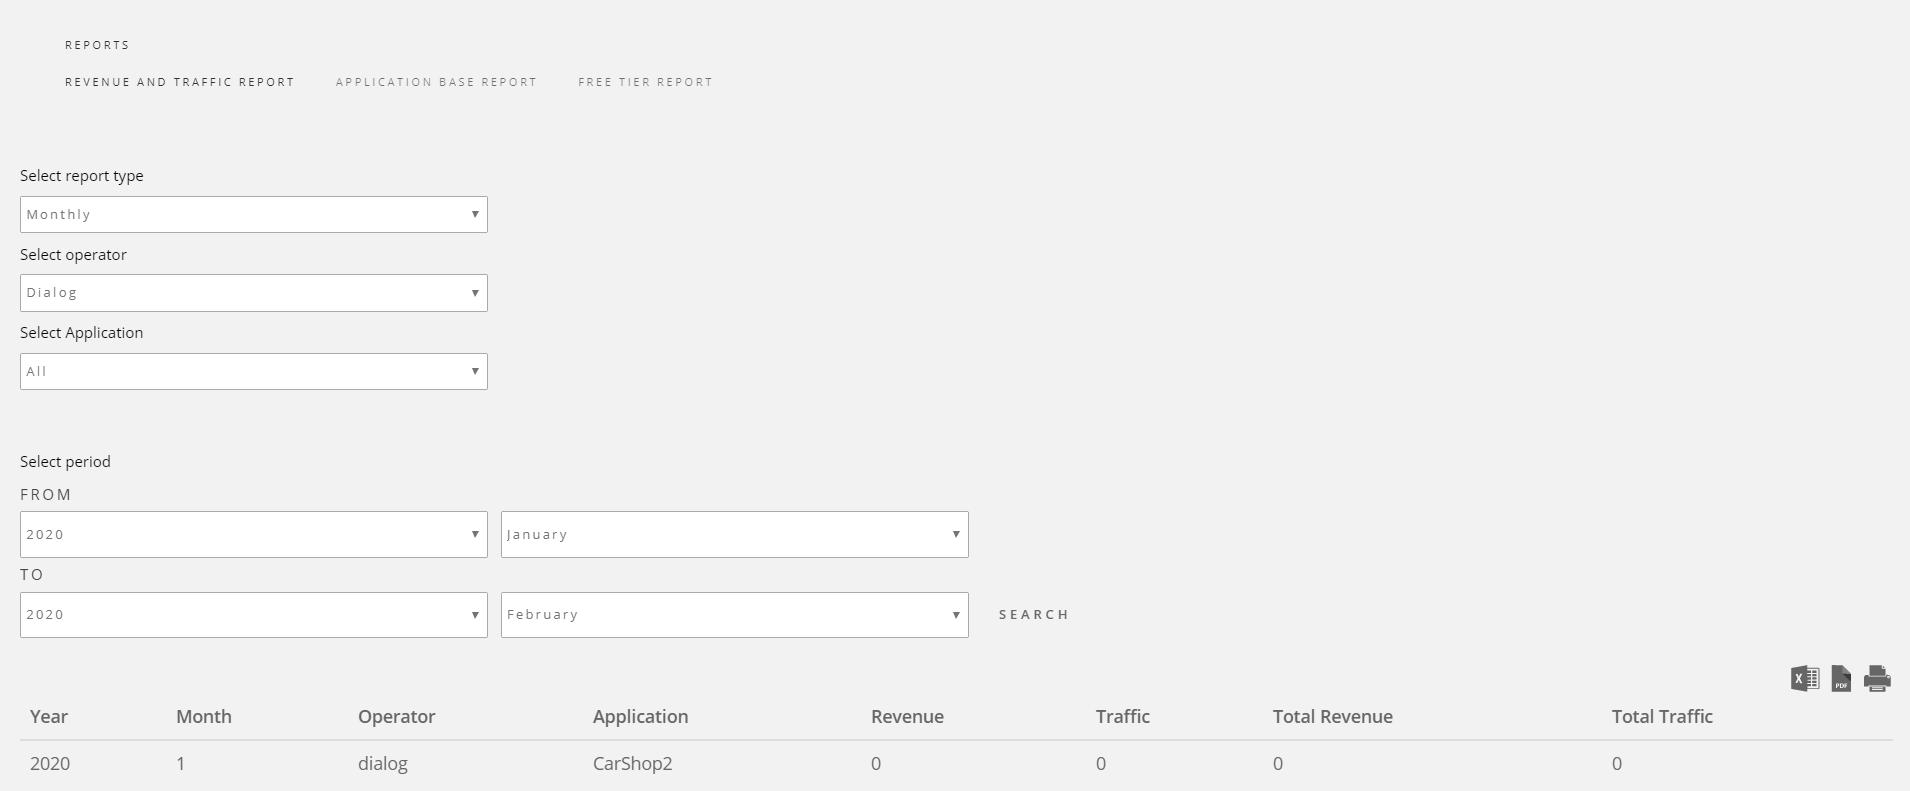
To generate a performance report for any of your application, you must first select the Reports section of the main navigation menu.
From there, you must then select which type of report you wish to create, be it Revenue & Traffic, Application Base or Free Tier, and then simply select which the time period, operator and the application. The result can be then printed or saved as a PDF or Excel sheet.
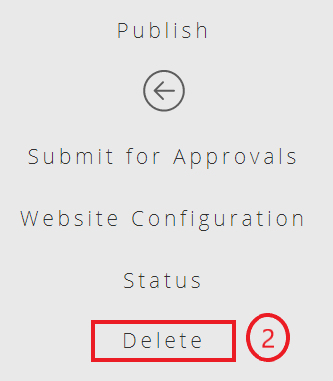
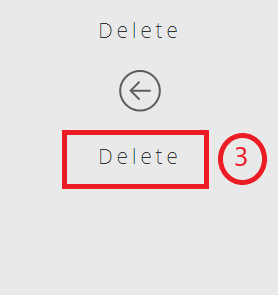
How to Delete an Application*
- Navigate to “Publish”
- Select “Delete”
- Confirm Delete
*Deleting Application still means that name cannot be used for another application
Engaging Users
You can engage your user base by sending Push messages to your customers To send a push message use the following steps:
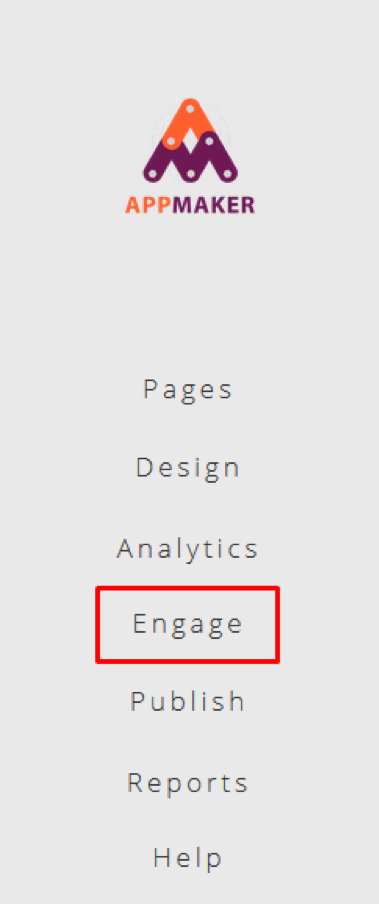
1. To create a new Push Message for your App Users select the menu named “Engage” from the left menu pane. This will open the Engage sub menu.
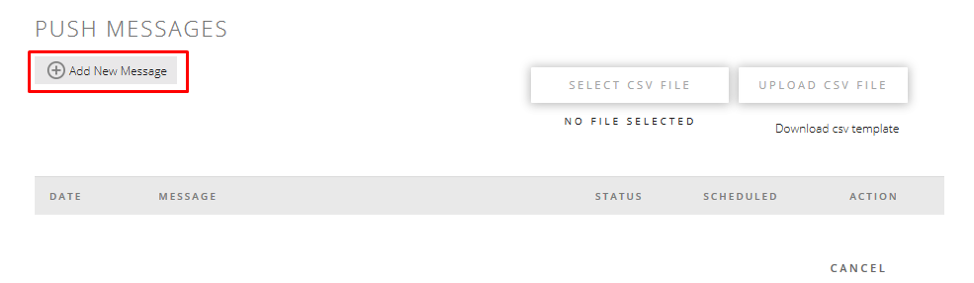
2. Select PUSH Messages to open the Push messages interface.

3. Click on Add New Message.
4. Select the userbase that you want to send the message to. (Note: Active Users mean, users that have opened the App in the last in 7 days.)
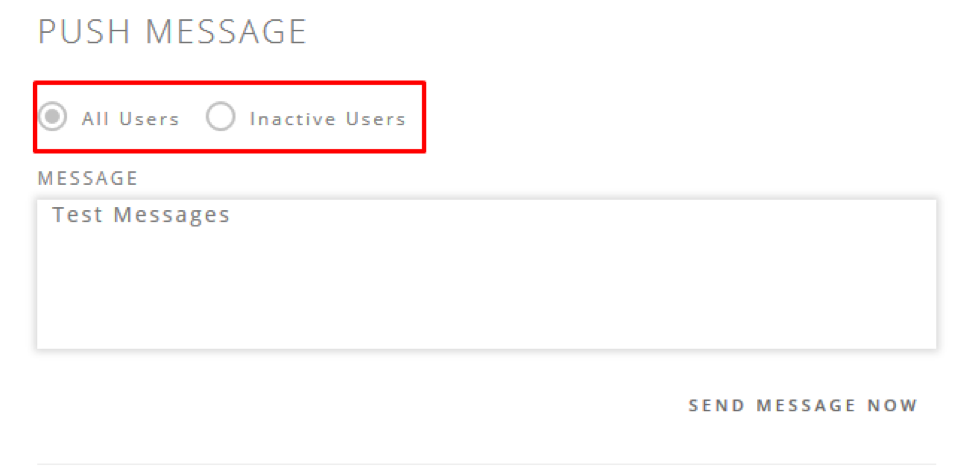
5. After selecting your userbase, enter the message that you want to send in the text box.
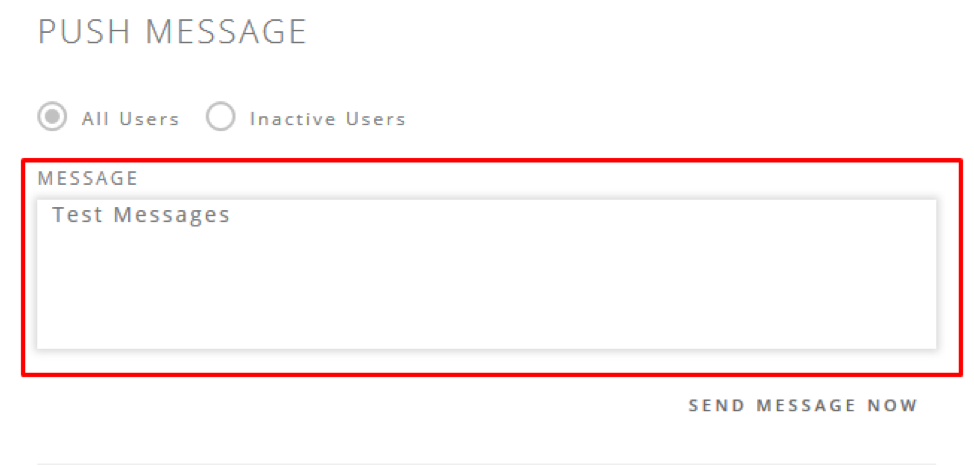
5. After selecting your userbase, enter the message that you want to send in the text box.

In App Messages
You can engage your user base by sending Rich Push messages to your customers To send an In-App rich message use the following steps:
1.To create a new In- App rich Message for your App Users, select the menu named “Engage” from the left menu pane. This will open the Engage sub menu.
2. Click on “Push Messages” to open the push messages interface.
3. Click on Add New Message.
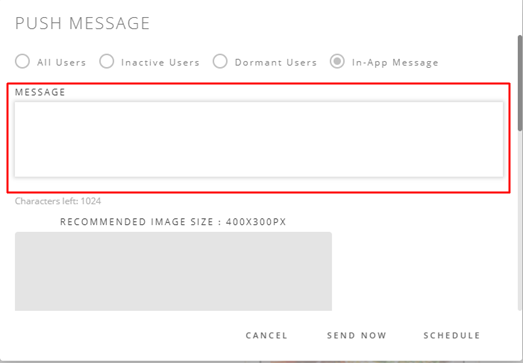
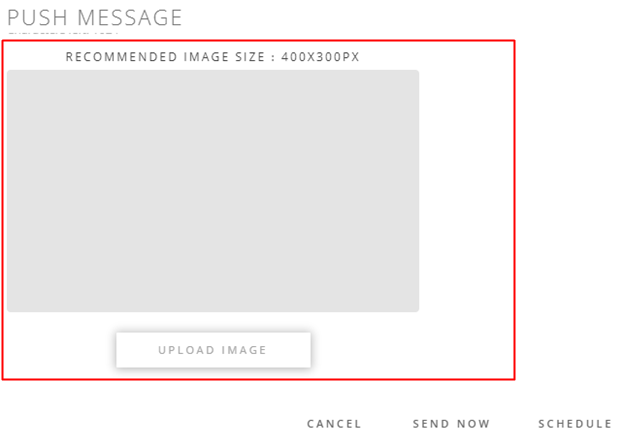
4. Select the In-App Message option in order to send a graphical message to you user base.
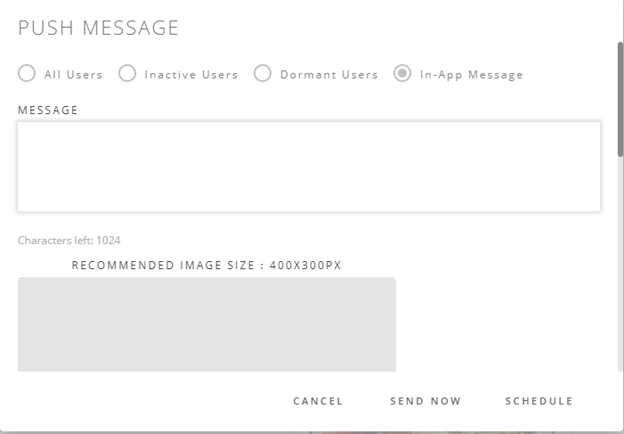
5. Enter the message that you want to send in the text box.
6. Then you can upload a recommended size image.
7. After that you can give a button name. (example : You can name the button "see more")
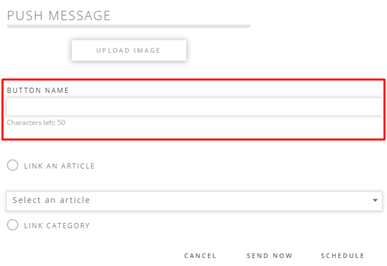
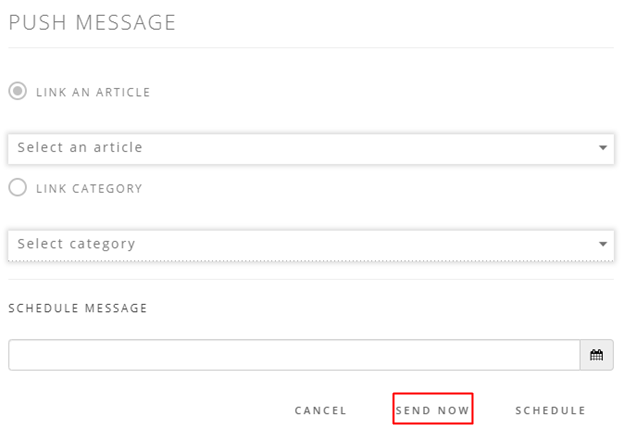
8. You can either you can link an article or category for this message.

9. Once you draft your message either you can send it now or you can schedule the message.
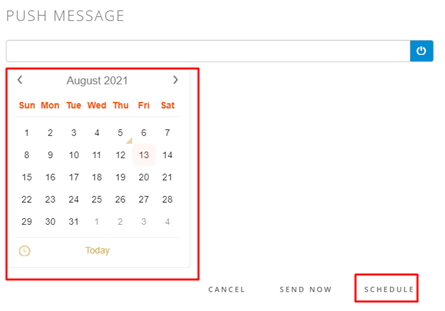
10. In order to schedule the message, select the date and time. After that click on schedule button.
Video Demo
Managing Messages
If messaging has been enabled in any of the pages published on your app, then End Users are able to send messages to you. The below describes how you can manage these messages sent by End Users.
First click on Engage
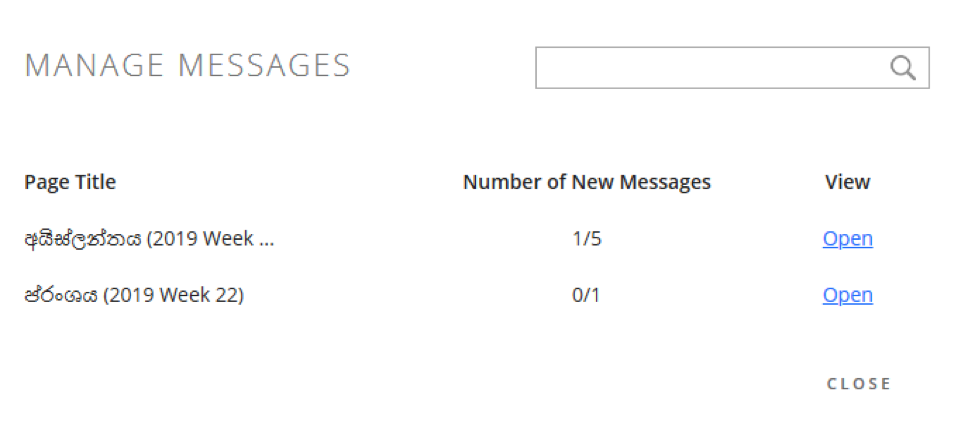
Select “Manage Messages”.

This will take you to the message management interface. Here messages are listed according to the page title. To access the message threads maintained under a particular page topic click on the link titled “Open”.
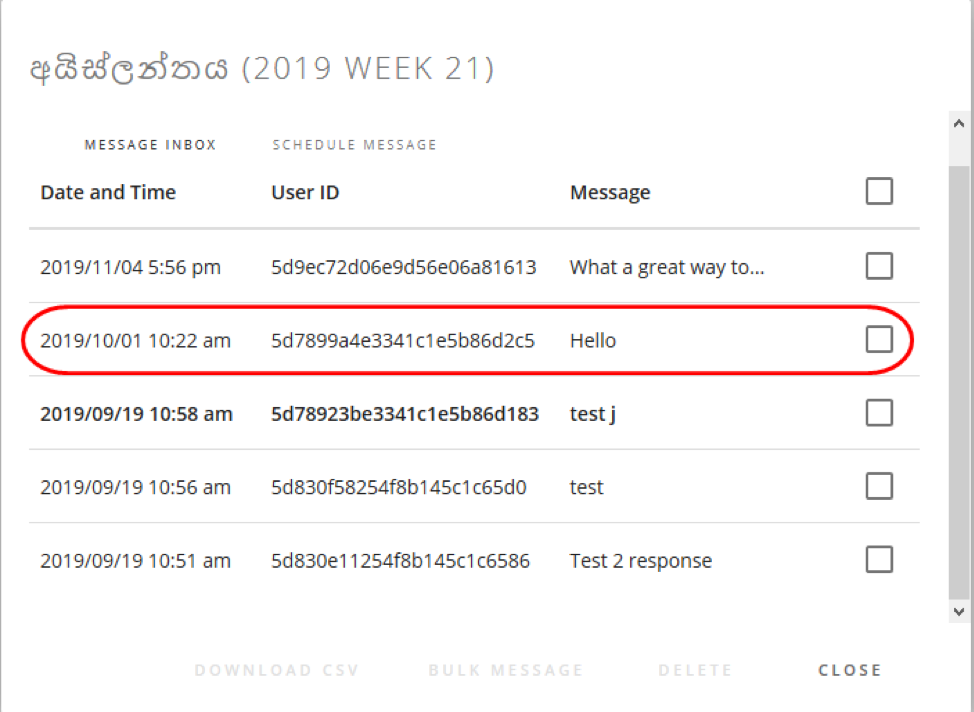
To view and reply to an individual mail thread click on the individual message thread.
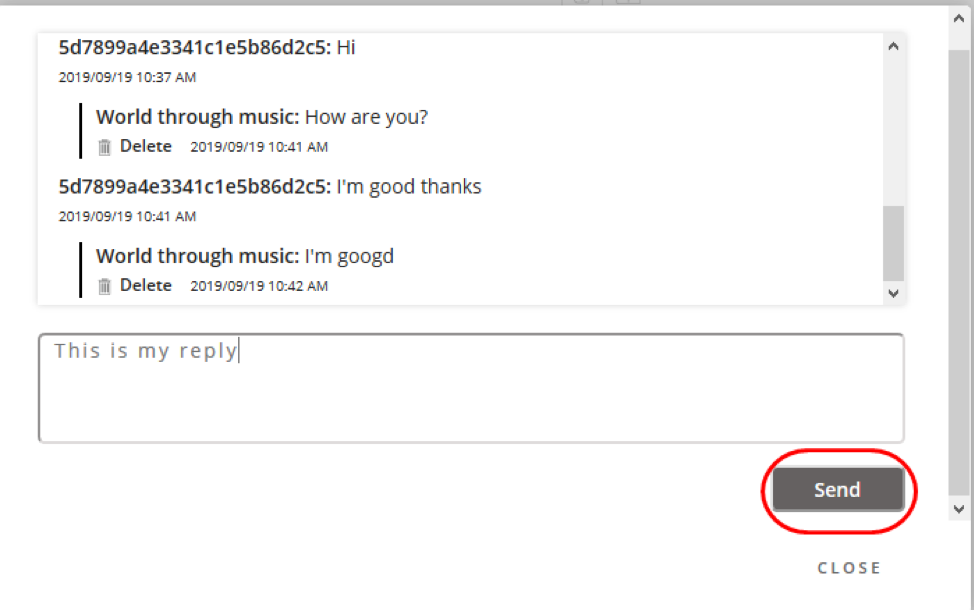
To reply to the user, type in the text box and click on the Send button.
Managing Comments
If commenting has been enabled in any of the pages published on your app, then End Users are able to post comments on that page. The below describes how you can manage these comments posted by End Users.
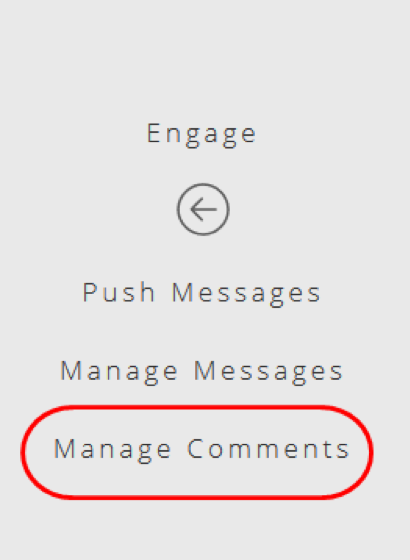
First click on Engage

Select “Manage Comments”.
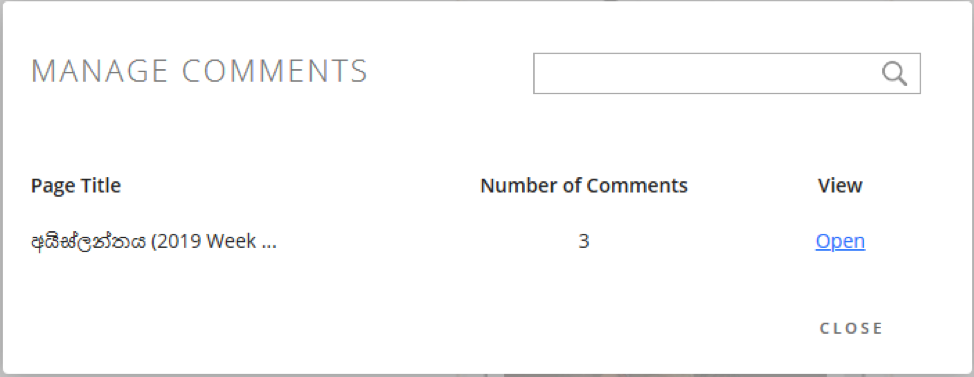
This will take you to the comment management interface. Here, the pages that have been commented on and the number of comments posted are listed. To access the comments under a particular page topic click on the link titled “Open”.
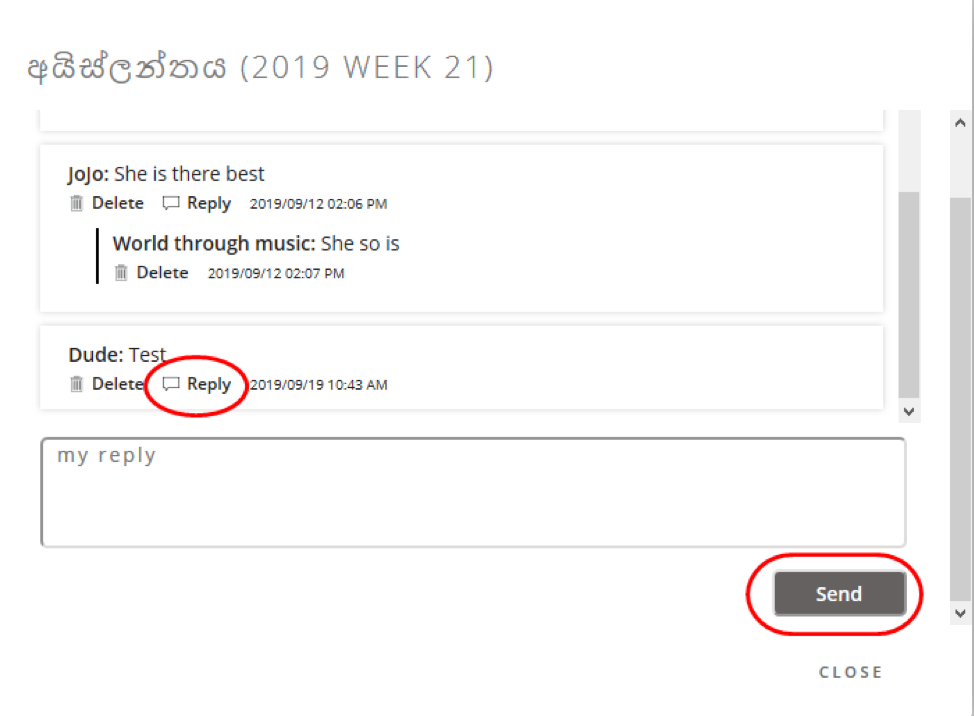
To reply to comment, first click the button titled “Reply”. This will enable you to type in your reply in the text box. After you have finished typing click on Send to post the reply.
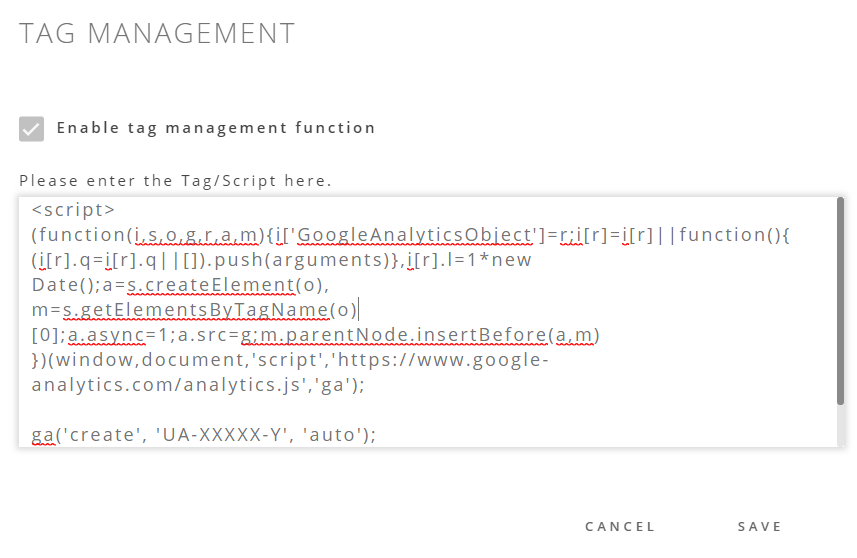
Tag Managament
If app creators would like to track their app’s PWA’s stats, they can do so by adding Google Analytics to their app. After setting up their Google Analytics account, they can add the code to the app by first,
1. Select Tag Management in Engage -> Tag Management
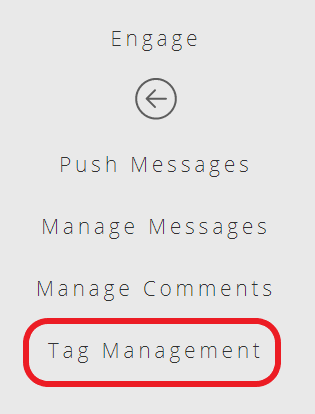
2. Then click on Enable Tag Management, paste the code in the text area and save.
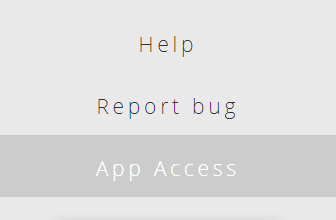
App Access
App creators can let other creators have access to their app in order to have limited control over it as well. Creators can use this feature to share certain work related to the app. In order to setup App access or more users; first,
1. Select App Access in the main menu
2. Then click on Add User to add the other people you want to have access to your app.
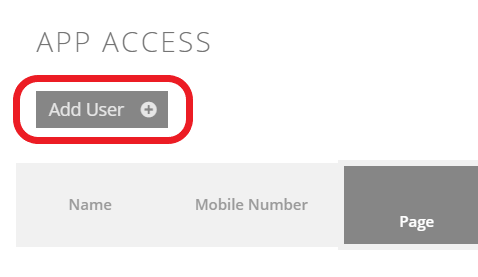
3. Finally, enter the registered mobile number of the user (Must be someone with an Appmaker account) and choose which features of your dashboard they can have access to

Article App Creation
E-commerce Store creation